
本文目的是创建OpenVPN实现实例资源的访问控制功能以及外网访问。
本文中采用一键安装脚本来做搭建。脚本github地址:https://github.com/Nyr/openvpn-install
1.下载脚本:
wget https://raw.githubusercontent.com/Nyr/openvpn-install/master/openvpn-install.sh
2.安装:
sh openvpn-install.sh
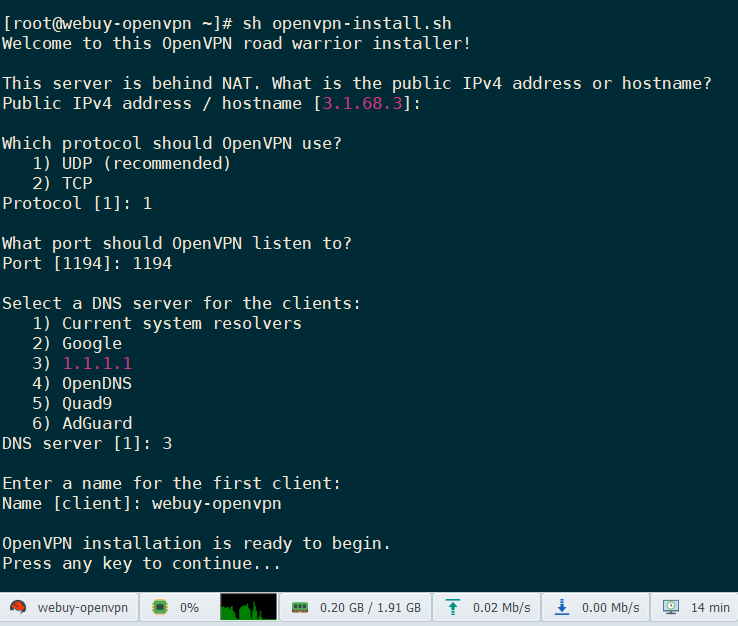
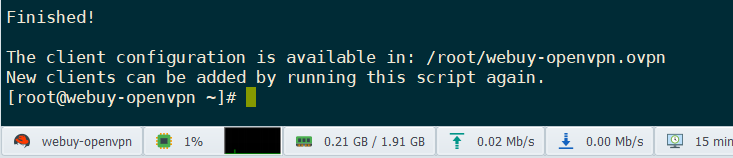
webuy-openvpn用户的客户端配置文件路径:/root/webuy-openvpn.ovpn
将此文件导入到openvpn中,连接即可。
3.配置使用账号密码验证
3.1创建脚本:vim /etc/openvpn/checkpsw.sh
#!/bin/sh
###########################################################
# checkpsw.sh (C) 2004 Mathias Sundman <mathias@openvpn.se>
#
# This script will authenticate OpenVPN users against
# a plain text file. The passfile should simply contain
# one row per user with the username first followed by
# one or more space(s) or tab(s) and then the password.

PASSFILE="/etc/openvpn/psw-file"
LOG_FILE="/etc/openvpn/openvpn-password.log"
TIME_STAMP=`date "+%Y-%m-%d %T"`

###########################################################

if [ ! -r "${PASSFILE}" ]; then
  echo "${TIME_STAMP}: Could not open password file \"${PASSFILE}\" for reading." >> ${LOG_FILE}
  exit 1
fi

CORRECT_PASSWORD=`awk '!/^;/&&!/^#/&&$1=="'${username}'"{print $2;exit}' ${PASSFILE}`

if [ "${CORRECT_PASSWORD}" = "" ]; then
  echo "${TIME_STAMP}: User does not exist: username=\"${username}\", password=\"${password}\"." >> ${LOG_FILE}
  exit 1
fi

if [ "${password}" = "${CORRECT_PASSWORD}" ]; then
  echo "${TIME_STAMP}: Successful authentication: username=\"${username}\"." >> ${LOG_FILE}
  exit 0
fi

echo "${TIME_STAMP}: Incorrect password: username=\"${username}\", password=\"${password}\"." >> ${LOG_FILE}
exit 1
3.2添加权限
chmod 755 /etc/openvpn/checkpsw.sh
3.3添加账号密码
echo 'username1 password1' >> /etc/openvpn/psw-file
3.4修改server.conf

# 追加以下内容
  script-security 3
  auth-user-pass-verify /etc/openvpn/checkpsw.sh via-env
  username-as-common-name
  verify-client-cert none
3.5重启服务
systemctl restart openvpn-server@server
3.6修改客户端文件webuy-openvpn.ovpn
# 追加以下内容,
auth-user-pass
客户端填写用户名密码